</head><body><divid="obj"></div><divid="follow">마우스를 따라 다녀요</div></body><script>
$(document).on('click',function(e){
console.log(e.clientX + ' / ' + e.clientY);
$('#obj').animate({'top':e.clientY,'left':e.clientX},'slow','swing');
});
//mousemove는 빠른 시간 안에 이벤트가 일어나므로 애니메이션이 필요 없음
$(document).on('mousemove',function(e){
console.log(e.clientX + ' / ' + e.clientY);
$('#follow').css({'top':e.clientY,'left':e.clientX});
});
</script>
◈ 알고가기
clientX, clientY : 브라우저 화면을 기준
pageX, pageY : 전체 문서(HTML)를 기준
screenX, screenY : 모니터 화면을 기준
slide up
<body><divclass="first"></div><divclass="second"></div><divclass="third"></div></body><script>//1.hover 걸기//2.function1: div 늘리기 /function2: div 줄이기
$('div').hover(function(){
//console.log($(this));
$(this).animate({'top':'50px','height':'200px'});
},function(){
//console.log($(this));
$(this).animate({'top':'200px','height':'50px'});
});
/* hover를 여러번 한 경우 실행이 겹치지 않도록
$('div').on('mouseenter',up);
$('div').on('mouseleave',function(){
$(this).off('mouseenter');
$(this).animate({'top':'200px','height':'50px'},function(){
$('div').on('mouseenter',up);
});
});
function up(){
$(this).animate({'top':'50px','height':'200px'});
};
*/</script>
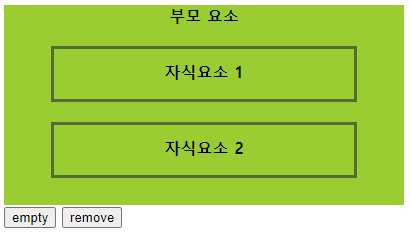
요소 추가*
제이쿼리를 사용하면 자바스크립트 보다 쉽게 요소를 추가 할 수 있음
$(selector).append( “추가내용” ); : 선택한 요소 내 마지막 요소에 추가
$(selector).prepend(“추가내용” ); : 선택한 요소 내 시작점에 추가
$(selector).after(“추가내용” ); : 선택한 요소의 바로 뒷 부분에 추가
$(selector).before(“추가내용” ); : 선택한 요소의 바로 앞 부분에 추가
<script>var i = 1;
var $btn = $('button');
//지정한 요소의 자식 중 가장 마지막에 붙음
$btn.eq(0).on('click',function(){
i++;
$('ol').append('<li>List Item '+i+'</li>');
});
$btn.eq(1).on('click',function(){
i++;
$('ol').prepend('<li>List Item '+i+'</li>');
});
//지정한 요소의 가장 나중에 붙음
$btn.eq(2).on('click',function(){
i++;
$('ol').after('<li>List Item '+i+'</li>');
});
$btn.eq(3).on('click',function(){
i++;
$('ol').before('<li>List Item '+i+'</li>');
});
</script>